Floors & Bulkhead Panels
Build Guide
Floors
Installing the Aluminum Floors
Tools Required
Rivet Gun
Drill
3/16th drill bit for rivets
4 quick-style clamps
Cheap brush or rag for wiping metal shavings
Optional Tools
From Rauf: I wish I knew about this thing http://www.jegs.com/i/JEGS+Performance+Products/555/80422/10002/-1 before I started hurting my hands. This Rivet Gun Conversion for Reversible Drills is a must for any riveting.
Parts Needed
Frame
Aluminum Floors
Rivets
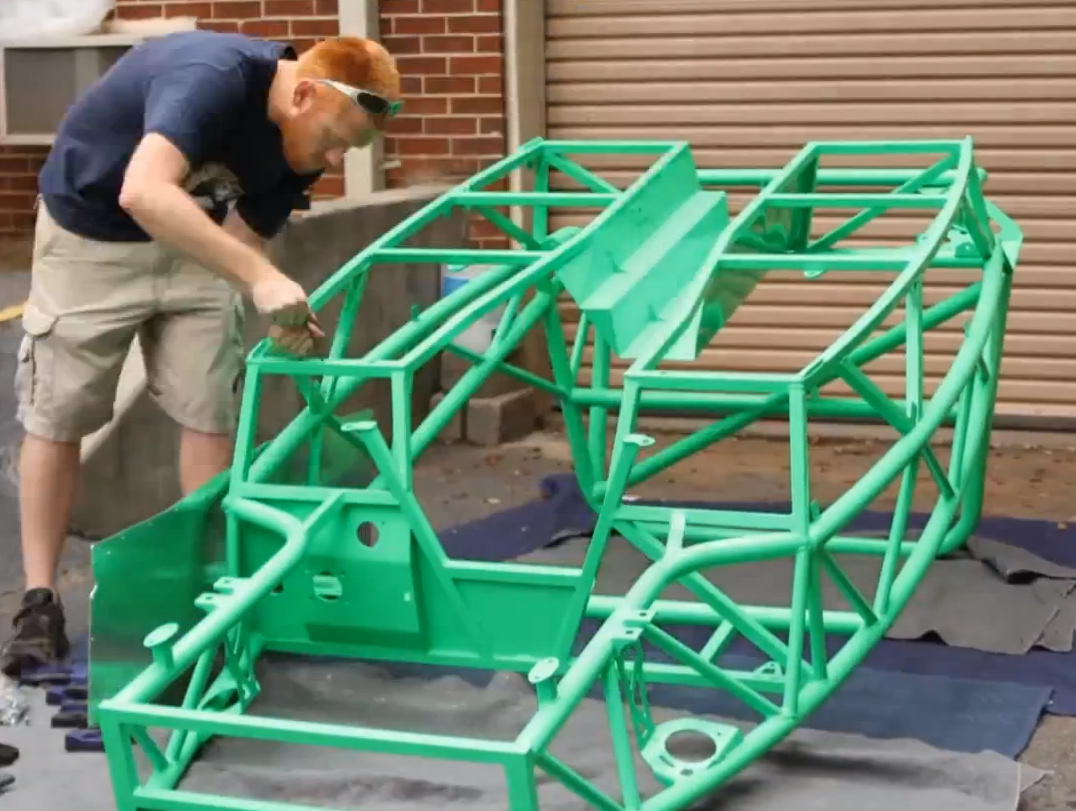
Hopefully this will be the only time your Exocet will be in this position. Take your chassis, and flip it upside down on a level surface. Use towels or some other protection for the powdercoated frame. Powdercoat is tough, but any scratches from this position will be very visible.
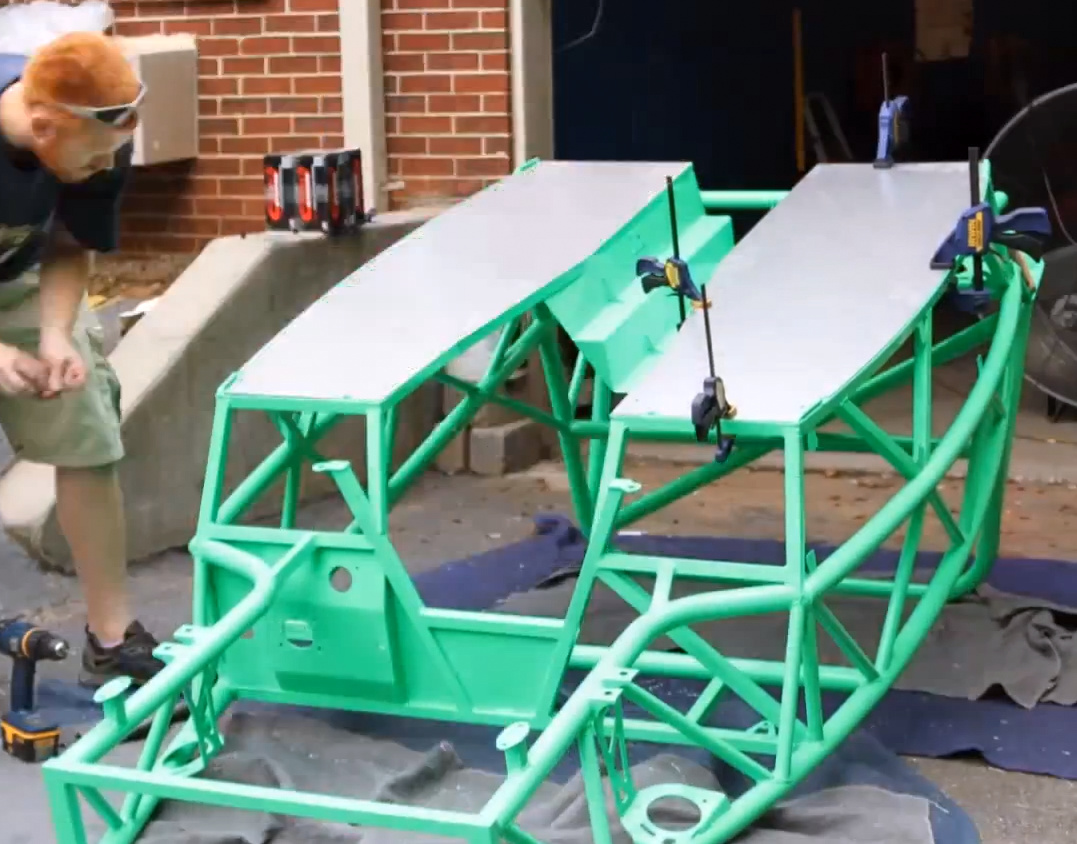
Mock up the aluminum floors on the chassis; they are symmetric and only go on one way. They are not supposed to line up with the outer edge of the tube, they actually sit inside of the tube’s edge radius. Now, notice the little pre-lasered holes that happen to line up with the floor tubes? You’re going to use those as guides for your drill. Take your quick-clamps and use them to secure one of the floors into position. Make sure the floor is flat along the tubes before starting.
Now that you have one of the floors clamped to the chassis, you can use a 3/16″ drill bit to continue all the holes. The bit should self-align in the laser-cut aluminum holes, but if you’re having trouble, grab your center punch and use that. Make sure to remember the holes on the cross-tubes in the middle.
Once you have all the holes drilled, carefully take off the clamps and lift off the floor. Brush off all the steel and aluminum swarf (shavings) from the frame and aluminum panel. Repeat the same process for the other side.
Optional step: A thin bead of sealant between the frame and floors will help prevent rattles in the long run. RTV or silicone is the best choice. Be sure to wipe off any excess immediately.
Now, reposition the floors on the frame. Drop in all your rivets before actually riveting anything together, they’ll make sure everything stays perfectly aligned. Once you have all the rivets in, start riveting, working your way in one direction (front of the car to back of the car is an example). A pneumatic rivet gun can help, but it’s not a necessity.
Once all the rivets are done, your floors are complete. If you added sealant, check for excess again. Notice the cutouts in the aluminum floors at the four corners? Those are your reinforced jacking points. Cool, huh?
TL;DR: Clamp on the aluminum floors, drill out the holes, use some sealant, and rivet them to the chassis.
Front & ReaR Bulkheads
Installation instructions for the aluminum bulkhead panels
Tools Required
Rivet Gun
Drill
3/16th drill bit for rivets
4 quick-style clamps
Cheap brush or rag for wiping metal shavings
Sealant (Silicone, RTV, or Polyurethane)
Optional Tools
From Rauf: I wish I knew about this thing http://www.jegs.com/i/JEGS+Performance+Products/555/80422/10002/-1 before I started hurting my hands. This Rivet Gun Conversion for Reversible Drills is a must for any riveting.
Parts Needed
Frame
Aluminum Bulkhead Panels (2 front, 2 rear)
Rivets
Time to flip the car back right-side-up. You’ll want to attach the car’s forward aluminum bulkheads before you marry the Exocet frame with the Miata. Here’s what they look like:
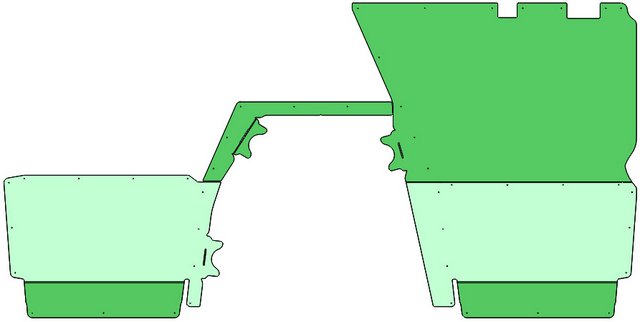
And here’s how they sit on the Exocet (in blue now):

Optional Step: Scuff up the aluminum with some 120-220 grit sandpaper to give it some scratch-resistance. A belt sander makes this easy, and it looks great. Here’re some panels after a month of hard use:
Test fit the panels, trim the aluminum if you need to, and then lightly hold them in place with a few quick-clamps. The passenger side panel is designed to be compressed a little and then pop into place. Notice the laser-cut holes? Remember the floors? Same drill (hah). Once you’re done drilling those holes, pull them off to clean the swarf, or you’ll get little scratchy noises down the road (hah again).
Once you have the holes done, you can choose how you’re going to finish the panels. They should be small enough for a local powdercoater, you could scuff them up yourself in a pleasing pattern, rattle-can them, have them anodized, sand and polish them, wrap them in vinyl, or just leave them bare. It’s up to you. Minor scratches, scuffs, and marks from our sheet metal provider are the norm.
Optional step: A thin bead of sealant between the frame and floors will help prevent rattles in the long run. RTV or silicone is the best choice. Be sure to wipe off any excess immediately.
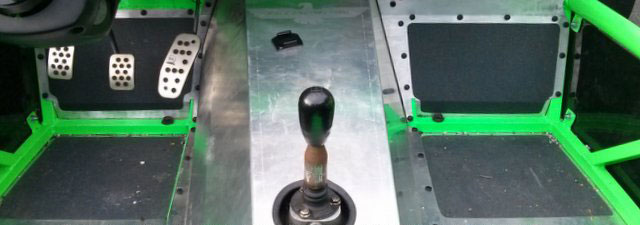
Once you have cleaned the shavings out and applied your optional sealant, place the panels back in position and install the rivets or screws. Screw caps are available at any home improvement store and are a nice touch if you use screws. They are the black caps visible in the picture below.
The transmission was designed to accommodate builder-elective edge trim at the front to absorb vibrations in the cleanest street builds. Without the edge trim (most builds), it should be positioned with a small (1/16″) gap at the front top (where it hits the aluminum bulkhead panels). It should not be positioned based on the floor tubes, as that joint is made to line up on those builds with edge trim. This gap at the front will eliminate squeaks and vibrations. If more rigidity is desired in the tunnel, there are pre-lasered holes on the front of the transmission cover for rivets or other fasteners. These will connect to the “ears” on the bulkhead panels.
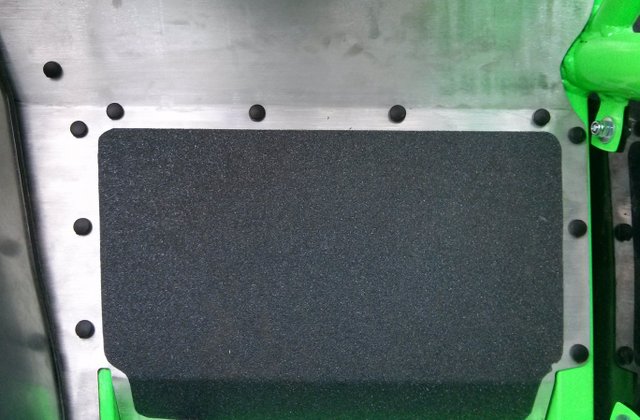
Optional: If you want to keep your floors scratch-free, you can install skateboard grip tape.
Pre-cut adhesive backed versions are not yet available for sale, but feel free to use the templates below to cut your own. Each shape has multiple pages, as the shapes are bigger than 8.5″ x 11″. Print out all pages, then line up the shapes visually, using the positioning circles and rectangles on the inside. For each pattern cut out grip tape both forwards and backwards, as the pattern is not symmetric itself.