The MEV DBR1 Replicar Build Guide
As of February 2018, the DBR1 Replicar is officially out of production.
Replicar Build Overview & Safety
Enjoy your build. Take your time. Most important of all – keep safe. Anyone carrying out the operations shown in this build guide should have due regard to normal safe working procedures. Exomotive, LLC, MEV Ltd, and Road Track Race will not be held responsible for any mishap, injury or losses resulting from building a vehicle. You the builder must take all necessary and appropriate steps to ensure a safe working environment. It is recommended that a risk assessment be carried out prior to proceeding that covers every aspect of your build including topics such as flying objects, flammable liquids, personal protective equipment, electric hand tools, etc. Note on springs during disassembly It is important I remind folk stripping MX5’s that on the little video clip of removing the body I mention removing one nut on top of each shock. If you take off the body by taking the 2 smaller 8mm nuts off instead then the body comes off leaving the springs under tension on the shocks. Then you take off the centre nut to clean and paint and the spring goes BANG and flies in the air taking your head with it! So please remember to do it my way, or get a spring compressor to remove the springs after. – Stuart Mills
Dismantling the Miata Donor
Warnings: Please be careful when removing the tops from the shock absorbers on the MX5. They are under tension and ready to fly once you have removed the weight of the body shell. The fuel tank should be emptied before you remove the body shell to help balance.
The aim is to remove the body shell and leave the front sub-frame with the engine, and the rear sub- frame with the differential, connected together via the alloy back bone, as seen in the picture below.

The picture below shows a 200mm long piece of tube that is inserted in to each corner of the suspension so that the rolling chassis may indeed roll without the engine and diff sinking

The rolling backbone that you will have left can be stripped to replace bushes if required, and to properly detail, clean and paint all the suspension parts, brakes and sub-frames. First remove battery from the boot then push the cables down through the floor. The engine bay fuse box can be left attached to the starter/alternator, the cables going through the bulkhead can be unplugged at the fuse box, the cables going to the battery can be left attached to the power plant frame. The PPF is the alloy beam that joins the gearbox to the diff housing. Now jack up the car and place on good solid axle stands for access to the underside. Next, remove the seats, seat belts, and carpets. Then remove the 2 plastic caps from each side of the dash board and remove the 4 bolts. Remove the plastic cap from the top centre of the dash and remove the bolt below it. Remove the 2 air vents above the radio and remove the screws. Pull off radio panel. Remove the 2 bolts either side of the radio then remove the instrument surround. Remove the speedometer plugs and cable and then remove the instrument unit. Next, remove the steering column and shaft that connects it to the rack. Now lift out the whole dash unit to gain access to the wiring harness/loom. Unplug all the cables going to the fuse box to allow them through the bulkhead. All cables can now be pulled back from the engine bay and battery into the cockpit. It looks complicated but all you need to do is plug it all back where it was. MAKE SURE YOU LABEL EVERYTHING. Many of the plugs you see in the loom pictured below will not be re-connected. No heater, wipers, interior light, cig socket, radio, electric mirrors, speakers, window motors, headlight lift motors, glove box light, etc. It is possible to strip the loom back to remove all these plugs but I just left the fuses out of the items not required. Quite a lot of cable to bunch up under the bonnet though but I suggest you run the Replicar to make sure you have everything correct before you start modifying the loom.


The picture above on the right shows the engine bay charcoal canister which can be left off. There is a pipe that feeds from it back to the tank. This can be blanked off. The pipe from the cam shaft cover to the canister will also need blocking off. The MX5 has a large steel bodied fuel filter which is mounted near the tank. This can be replaced with an in line filter that is suitable for fuel injected cars (not plastic bodied). You will probably also replace the 2 fuel pipes (feed and return) with rubber. Please ensure that the pipe you use is suitable for fuel. It is usually marked. The IVA inspector may ask for proof of this. Check to see if your donor has a back light dim facility for the dash. If it has you will need to retain the dimmer unit from the dash, as back lights are required for IVA. If the donor is an import, check that the fog light only comes on when you have the headlights on. Again this is an IVA requirement. Remove the throttle cable and clutch master cylinder leaving it attached to the gearbox. Remove the brake pedal and servo, and clutch the pedal. Remove all electrical connections and plugs from the engine. Label them as you go. Disconnect the 2 fuel pipes from the fuel rail on the left of the engine. They may be under pressure. Remove the air box and un-plug the air flow meter that is attached to it. Remove the radiator, and air con if fitted. Careful as this may be pressurised. Unscrew the 2 front brake pipes noting where they are connected from. Cut or unscrew the rear brake pipe at the junction on the rear axle. Disconnect the handbrake cables from the rear callipers. Support the underside of the front and rear sub-frames with substantial props or use short tubes to support the suspension as shown in the previous picture. Remove the speedometer cable from the gearbox. Remove the centre nut on the top of each shock absorber. If you remove the 2x8mm bolts on the top instead then the springs will be compressed and dangerous to remove later for cleaning or painting. Remove the six bolts holding the rear sub-frame to the body shell. Clean and oil the threads first. Remove the eight bolts holding the front sub-frame to the body shell. A 1m long bar may be needed.


If you intend to remove the hubs for cleaning/painting then do so before you disconnect the brakes so you can lock them on and undo the nuts. Lift off body with an engine hoist leaving the 2 sub-frames connected by the alloy back bone. This is best achieved by attaching a lifting chain to the front left and rear right seat bolt holes as the balance is about right. You can now remove the tank, filter, handbrake and cables.

The stripped out body shell weighs around 250 kgs. It is suggested that the doors are removed and all of the interior is removed before lifting the body off to reduce the weight. Don’t forget that once the load is taken from the top of the shock absorbers then the sub frames will sink to the ground unless propped up or tubes are inserted as per the picture shown previously. Ideally you should have a trailer ready so the shell can be loaded and taken to a scrap metal merchant who will pay around £60 for the scrap. Don’t forget any odd bolts or screws or rubber capping may well come in handy later. It is recommended that pictures are taken of the donor and that the VIN number on the front bulkhead is cut out before it is scrapped. Below is what Mazda calls the power plant frame.

Preparing the Replicar Chassis
First the chassis is turned upside down and the alloy sheet is marked for cutting out. Note we leave 75mm overhang for attaching the sills of the body to.

Then we cut it with a jig saw.

Then we rivet it on with large head rivets supplied in the kit. These are approximately at 95mm centres.
NOTE: It is suggested that unless you have use of a car lift that you P clip the fuel lines and rear brake pipe to the inside of the chassis rail whilst it is upside down, please see further down the build guide under the brake section.

Then we turn it over and drop it on the MX5 subframes with the engine/gearbox/differential/prop shaft and suspension still in place.

Pre-drilled for Miata pedal assembly and steering column. Chrome wire wheels shown fit 4×100 Miata hubs.

Rear corner of the chassis showing attachment to rear Mazda Miata subframe assembly.

The pedal assembly from the MX5 is now bolted into place complete with servo and master cylinders for the clutch and brakes. The holes are per cut in the bulkhead plate. Just a hole to drill for the MX5 throttle cable.

We can now fit the standard MX5 steering column on the drop plate. This can be altered for those requiring a different steering wheel height.

The front anti roll bar has mounting points on the chassis.
Here you can see the front chassis mounting bolts fitted.

The rear subframe to chassis mounting bolts are shown here together with the rear body support frame bolted into place.
You can also see how the tops of the shock absorbers just slot through the chassis and bolt on with 2 8mm nuts each corner of the car.

Fuel Tank
Standard MX5 tank with pump and gauge sender is bolted to the chassis

Cut a hole in the GRP when the body is mounted and feed this through. The top then screws home.


Brakes
Miata parking brake assembly and cables bolt to the chassis.

Fit the front brake pipe that goes from the master cylinder to the nearside front caliper. Note the diagram of the brake pipe connections, this needs to be correct. You can also see an arrow on the pipe from the brake servo to the plenum chamber. This has a one way valve in the centre and needs to allow vacuum from the plenum to feed the servo.

If you have the use a a car lift it is easy to fit the rear brake pipe and fuel lines. If not then please carry out this job before fitting the body. It is easy to P clip these pipes with the chassis upside down.

Wiring
Now remove the tunnel to finish off connecting the loom. Bolt the ECU down first.

Despite what may look like a real mess in terms of the electrics it is so very simple. Even with half the standard MX5 loom not plugged back in it still fires up. All that’s needed now is to tidy the harness with a few cable ties.

Radiator
Standard MX5 radiator and pipes is bolted to the chassis.

Mounting the bodywork
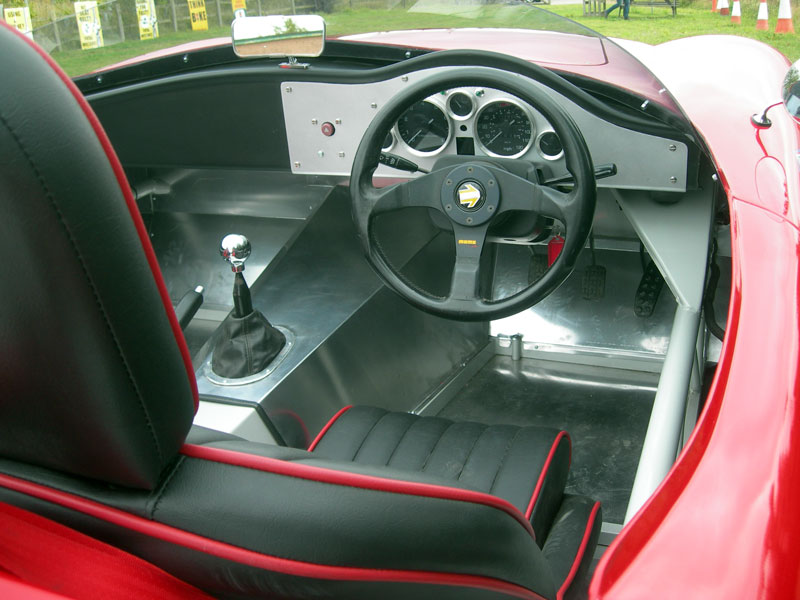
The dash is bolted in to place before the body goes on. This allows easy access to the wiring of the instruments. The dash can be removed when the body is on though.


Body is attached at the front with a bolt in each corner of the bonnet opening,

Then 2 at the rear behind the number plate.

The seats are bolted to the seat rails with the MX5 seat runners.

The fly screen is cut to shape and supplied in the kit, it bends easily around the corners and is easy to drill. It is then secured with 10 5mm button head bolts.

Period-correct driving gear.

Front grill bars.

Chrome side mirrors.

Headrest.

Side vent.

UK Lighting Positions & IVA Compliance
Drilling hole for headlight. The headlight unit is sourced from a 1990-1997 Mazda Miata.

Turn signals added for street legality.

Miata headlight test fit with front vent installed.

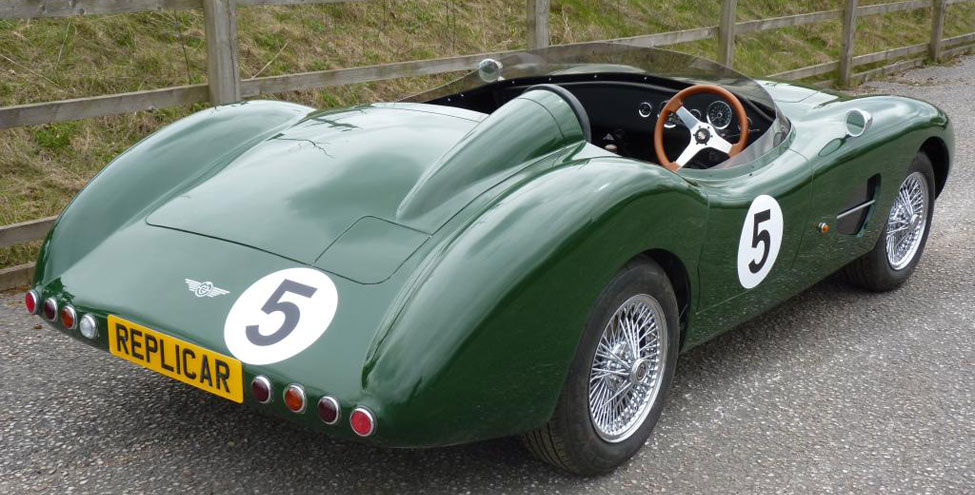
Mounting locations for included rear lights.

Rear lights installed.

Optional rear fog lights installed for UK IVA requirements.

Side turn signal for UK IVA requirements.

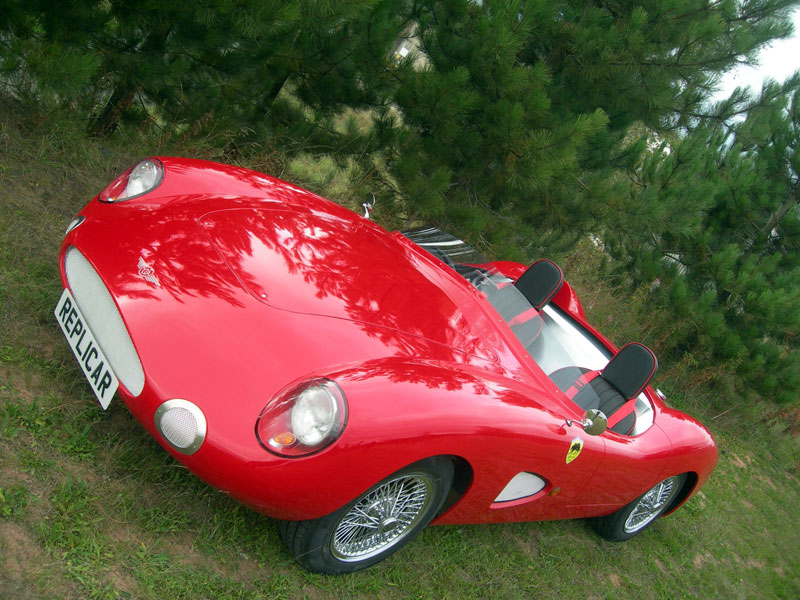
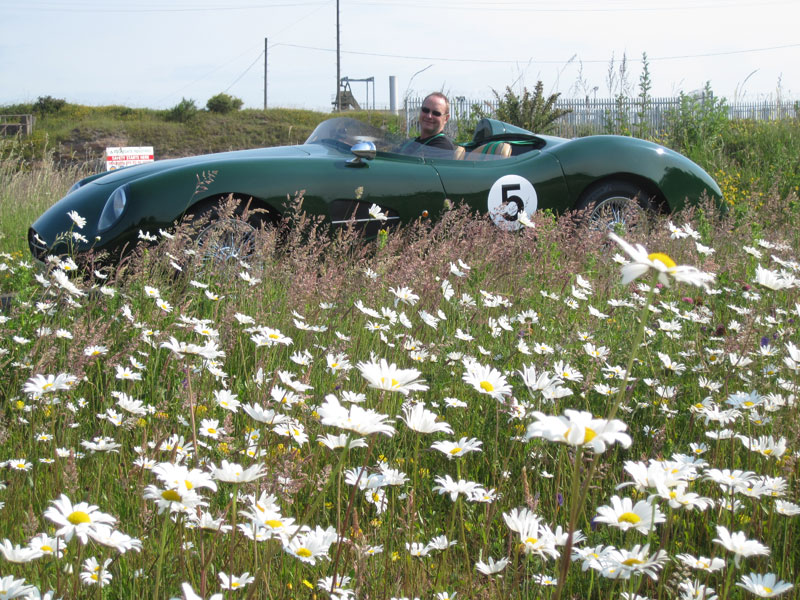
Photos of completed Replicars