Exocet Donor Vehicle Information
Information on the Exocet kit car’s donor – the 1990-2005 Mazda Miata (MX5)
A great place to start
Download pertinent files related to the Exocet donor vehicle, the NA & NB Mazda Miata.
From the Cloud
File links provided below are hosted on outside websites and are not controlled by Exomotive.
Need to add something?
Let us know. We’re happy to add links to other great content about the Miata donor that helps our builders.
Info By Year
NA Miata (1990-1997)
NB Miata (1999-2005)
Mazda Miata Tune Up Parts
Typical NGK Spark Plug Recommendations
| 2382 | BKR5ES11 | Standard |
| 6953 | BKR5E11 | V-Power |
| 7090 | BKR5EGP | Platinum |
| 2647 | PFR5G-11 | Double Platinum |
Standard NGK Plugs recommended in original workshop manuals
| 5553 | BKR6ES11 | Standard |
| 2756 | BKR6E11 | V-Power |
| 7092 | BKR6EGP | Platinum |
(NGK Part Numbers Key)
*The Workshop Manual also states that Nippondenso K16PR-U11 or K20PR-U11 (standard) are acceptable plugs.
*Plugs gap to 1.0-1.1 mm or .040-.043 inch.
*Use of Anti-Seize is recommended on the spark plugs. If you use Anti-Seize you need to reduce your torque specification by 1/3. For example if you normally torque them to 11 to 16 ft/lb with Anti-Seize you would torque them to 7 to 11 ft/lbs.
NGK Spark Plug Wires
| 9160 | ZE21 | NGK Blue Wires |
Replace every 30k miles.
Fuel Filter
| Bosch | 71550 |
| Fram | G6895 |
| NAPA | 3289 |
| Purolator | F54785 |
| Wix | 33289 |
Oil Filter
Stock Size (Height 2.58″)
| Amsoil | EAO12 |
| Bosch | 3300 |
| Fram | PH6607 |
| NAPA | 1365, 7040 |
| Purolator | PL14612 |
| Valvoline | VO54 |
| Wix | 51365 |
Extended Size (Height = 3.64″)
| Amsoil | EAO13 |
| Bosch | 3323 |
| Fram | PH7317 |
| NAPA | 1356 |
| Purolator | PL14610 |
| Valvoline | VO50 |
| Wix | 51356 |
PCV Valve
| AC Delco | CV936C |
| Beck Arnley | 045-0253 |
| Borg Warner | PCV 355 |
| Echlin | CRB 29355 |
| Fram | FV258 |
| Mazda OEM | BP05-13-890 |
| Novo | W0133-1643363 |
| Purolator | PV1024 |
| Standard | V290 |
O2 Sensor (4 wire for 1.8L)
| Bosch | 15330 |
Mazda Miata Guides & Walkthroughs
Miata Torque Specifications
Except where noted, all torque specifications listed are in Foot-pounds / Newton-meters.
General
| Spark plugs | 11-17 (132-204 in-lbs) |
| Engine oil drain plug (19mm) | 22-30/31-41 |
| Gearbox drain plug (24mm) | 29-43/39-59 |
| Gearbox fill plug (square) | 18-29/25-39 |
| Differential drain plug (24mm) | 29-40/39-54 |
| Differential fill plug (23mm) | 29-40/39-54 |
| Wheel lug nuts | 66-86/89-117 |
Suspension
|
13-20/18-26 14-21/20-28 |
||
| Swaybar end link bolts, both ends | 27-40/36-54 | ||
| Upper shock mount plate bolts | 22-27/29-36 | ||
| Upper shock nuts | 23-34/31-46 | ||
| Lower shock bolt | 54-69/73-93 | ||
| Lower control arm bolt, front | 54-69/73-93 | ||
| Spindle (vertical) bolt | 54-69/73-93 | ||
|
69-83/94-112 54-70/73-95 |
Brakes
| Front/rear bracket bolts | 36-51/49-69 | ||
|
58-65/78-88 25-29/34-39 |
||
| Front/rear banjo bolts | 16-22/22-29 | ||
| Rear adjuster plug bolt | 9-12/12-16 |
Engine & Cooling
| Crank pulley bolt (1990 – early 1991) | 80-87/108-118 (plus Loctite 242-blue) |
| Crank pulley bolt (late 1991 – present) | 116-122/157-165 (plus Loctite 242-blue) |
|
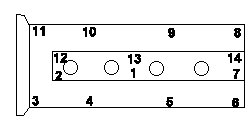
Cam cover bolts (*must be done in correct order)
|
43-78 in-lbs |
| Alternator mounting bolt | 27-38/37-52 |
| Alternator tension adjustment bolt | 14-19/19-25 |
| Water pump – 4 bolts to block | 14-19/19-25 |
| Water inlet pipe – 2 bolts to water pump | 14-19/19-25 |
| Radiator – upper bolts | 14-19/19-25 |
| Thermostat cover – 2 bolts | 14-19/19-25 |
| Timing belt tensioner bolt & idler pulley bolt | 28-38/38-52 |
| Timing belt cover bolts | 14-18/19-24 |
| Cylinder head bolts (must be done in stages and in correct order.) | 56-60/76-81 |
Intake / Exhaust
| Airflow meter bolts | 69-95 in-lbs |
| Intake manifold bracket | 27-40/36-54 |
| O2 sensor | by feel, as close to 22-36 ft-lbs as possible |
| Exhaust pipe clamp bolt (to bell housing) | 15-20/21-27 |
| Bell housing bolts | 48-65/65-88 |
| Exhaust header nuts | 28-34/38-46 |
| Cat converter nuts (both ends) | 30-41/40-55 |
Clutch
| Transmission front cover bolts | 14-18/19-24 |
| Flywheel bolts | 71-75/96-102 |
| Pressure plate bolts | 14-19/19-25 |
| Bell housing bolts | 48-65/65-88 |
| Prop shaft nuts | 20-22/27-30 |
| Power plant frame bolts | 77-91/104-123 |
| Starter motor bolts | 28-38/38-51 |
| Starter motor mounting bracket bolts | 28-38/38-51 |
| Slave cylinder fluid tube | 9-16 (113-190 in. lbs.) |
| Slave cylinder mounting bolts | 12-16/16-22 |
Don’t see what you need? More Miata Torque Specs can be found here – https://sites.google.com/a/philb.us/miata-torque-specifications/home
Timing Belt
After insuring the alignment of the belt timing marks at TDC, rotate the crankshaft 1 5/6th turns to the tension setting mark. Loosen the Tensioner bolt and allow the spring to pull the tensioner into the belt. Tighten the tensioner bolt to 28-38 Ft/Lbs or 38-51 Newton/Meters. Press down in the center of the belt between the two camshaft pulleys with a force of 22 Lbs (98 Newtons). The belt should deflect .36 to .45 inches (9-11.5 mm). If the belt does not deflect in this range start back at TDC and repeat the process until the correct deflection is attained.
Alternator, A/C and Power Steering Ribbed Belts
Check the drive belt tension when the engine is cold or at least 30 minutes after the engine has stopped. Apply moderate pressure 98N (10kg, 22lbs) midway between the specified pulleys.
To check deflection on the alternator belt press between the crankshaft and alternator.
To check deflection on the AC, PS or AC+PS belt press between the crankshaft and the PS or Idler.
Deflection mm (in)
| Drive Belt |
New* | Used | Limit |
| Alternator | 5.5-7.0 (0.22-0.27) |
6.0-7.5 (0.24-0.29) |
8.0 (0.31) |
| PS PS+AC |
8.0-9.0 (0.32-0.35) |
9.0-10.0 (0.36-0.39) |
11.5 (0.45) |
| AC | 8.0-9.0 (0.32-0.35) |
9.0-10.0 (0.36-0.39) |
11.5 (0.45) |
* A belt that has been on an engine less than 5 minutes.
If the deflection is not within the specification, adjust it.
Belt tension can be checked in place of belt deflection. Check the drive belt tension when the drive belt is cold or at least 30 minutes after the engine has stopped. Using a belt tension tester, check the belt tension between any two belt pulleys.
Tension N (kg, lb)
| Drive Belt |
New* | Used |
Limit |
| Alternator | 491-745 (50-76 110-167) |
491-706 (50-72 110-158 |
343 (35 77) |
| PS PS+AC |
491-588 (50-60 110-132) |
422-490 (43-50 95-110) |
245 (25 55) |
| AC |
491-588 (50-60 110-132) |
422-490 (43-50 95-110) |
245 (25 55) |
* A belt that has been on an engine less than 5 minutes.
Timing Belt Install Steps
Do not bother marking your existing belt position. If the belt was on wrong to start with, you will simply retain that wrongness. If your Timing Belt broke or slipped, you’ll need to know how to index the Timing Belt from scratch anyway. All the marks it takes to properly install the Timing Belt are built into the engine. The entire following process should take about 10 minutes once you get through it the first time.
When I say left and right, you are facing the engine from the front of the car.
Before you start, remove the timing belt idler and spring assembly on your left. Install the one on the right and torque it down. This is all easier to do if you don’t have spark plugs in the engine and the transmission is in neutral. (or the drive tires are off the ground with the e-brake off)
Prior to this process, it will be helpful if you have found the small index marks (two on each cam sprocket) and filled them in with some white paint. Of course, the paint won’t stick to a greasy part, so clean them first.
1. Turn the crankshaft clockwise until the half moon cut out aligns with the 12 o’clock arrow.
2. Remove the cam sprockets from the front of the cams and rotate each cam clockwise until the dowel pin that indexes the cam sprocket is at 12 o’clock.
3. Put the cam sprockets on with the I up on the Intake cam and the E up on the Exhaust cam. Put a wrench on the cam flats and torque each cam sprocket bolt.
4. Look at the cams. The front lobe on each cam should be pointing towards the fender on that side of the engine. If they are, go on. If not, go back to step 2.
5. Turn the exhaust cam clockwise until it starts pushing down on the cylinder 1 exhaust valve and then let it relax back a little bit counter clockwise.
6. Put the belt on the crank and shim underneath it with cardboard so it won’t slip.
7. Wrap the belt counter clockwise from the crank to the exhaust cam sprocket but not the intake sprocket. The belt goes to the left of the right idler bearing.
8. Put a wrench on the flats on the intake cam and turn it counter clockwise until you can slip the belt on. Count the number of teeth between the two marks on the cam sprockets. It should be 19. If it is 18, slip the belt off and rotate the intake cam one more tooth counter clockwise.
9. Using something like a spring clip, cloths pin or tie wrap, tie the timing belt to the sprockets with 19 teeth between the marks.
10. Slip the left idler and spring assembly under the belt and attach it but don’t tighten it. You might require help for this next step… With a wrench on the flats, turn the intake cam slightly counter clockwise to take the slack out of the top of the belt and tighten the left idler against the belt and snug the bolt (not torqued yet). Remove the clips you used to tie the belt to the cam sprockets.
11. Turn the crank 1 and 5/6 turns clockwise to align the half moon cut out with the arrow at 10 o’clock on the block.
12. Tension the belt following these instructions: https://exomotive.zendesk.com/entries/21217422-miata-belt-tension
13. Torque the left idler bearing.
Turn the crank clockwise to TDC (half moon in 12 o’clock notch) and check for cam sprocket alignment and tooth count. If it’s not right or the cam sprockets aren’t symmetrical, go back to step 5.

Turn the crank clockwise 1 and 5/6 turn and check for belt tension a second time.
This a slightly modified method that is well described here:

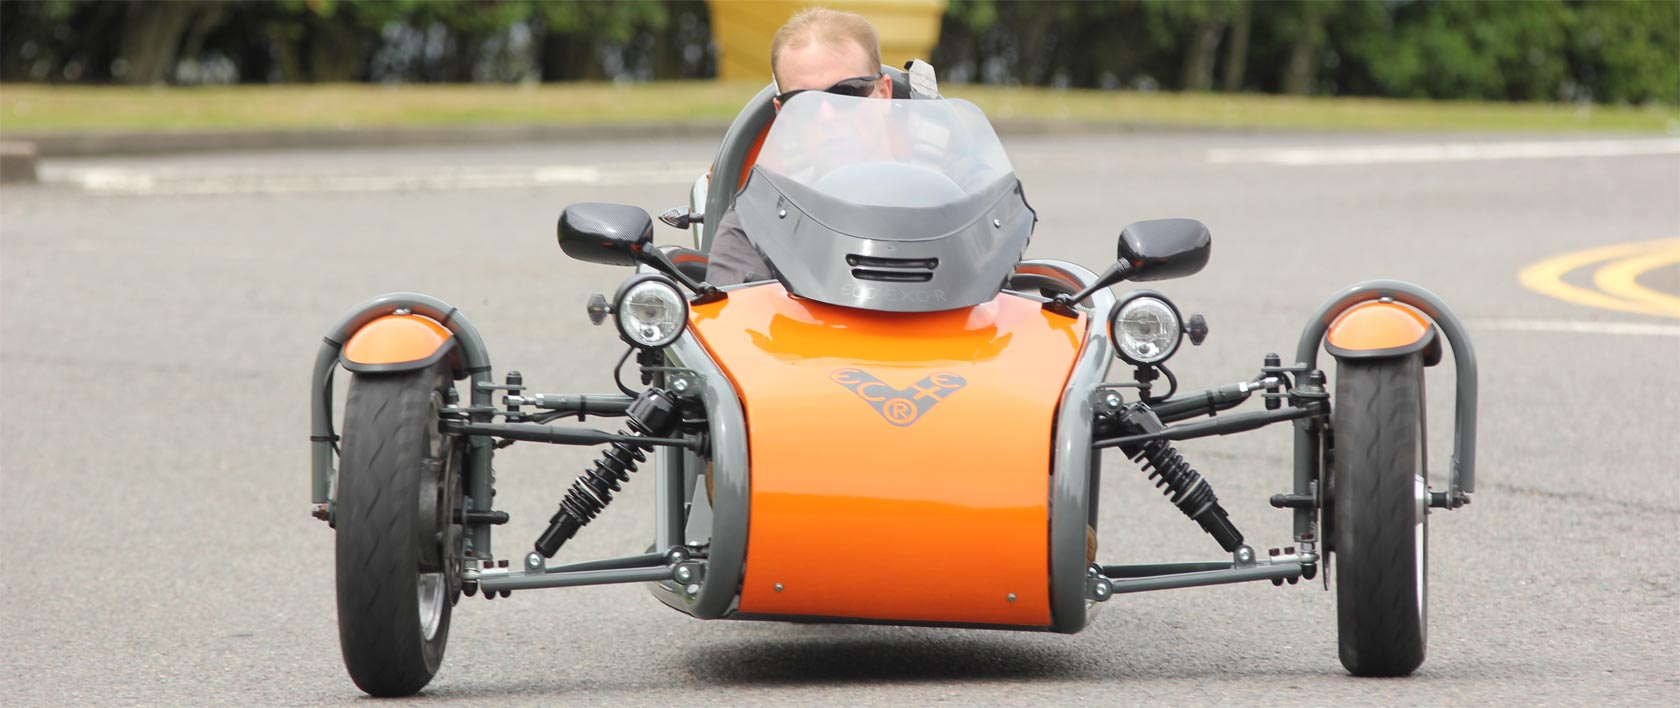
MEV Exocet UK Build Guide
View the original MEV Exocet Build Guide
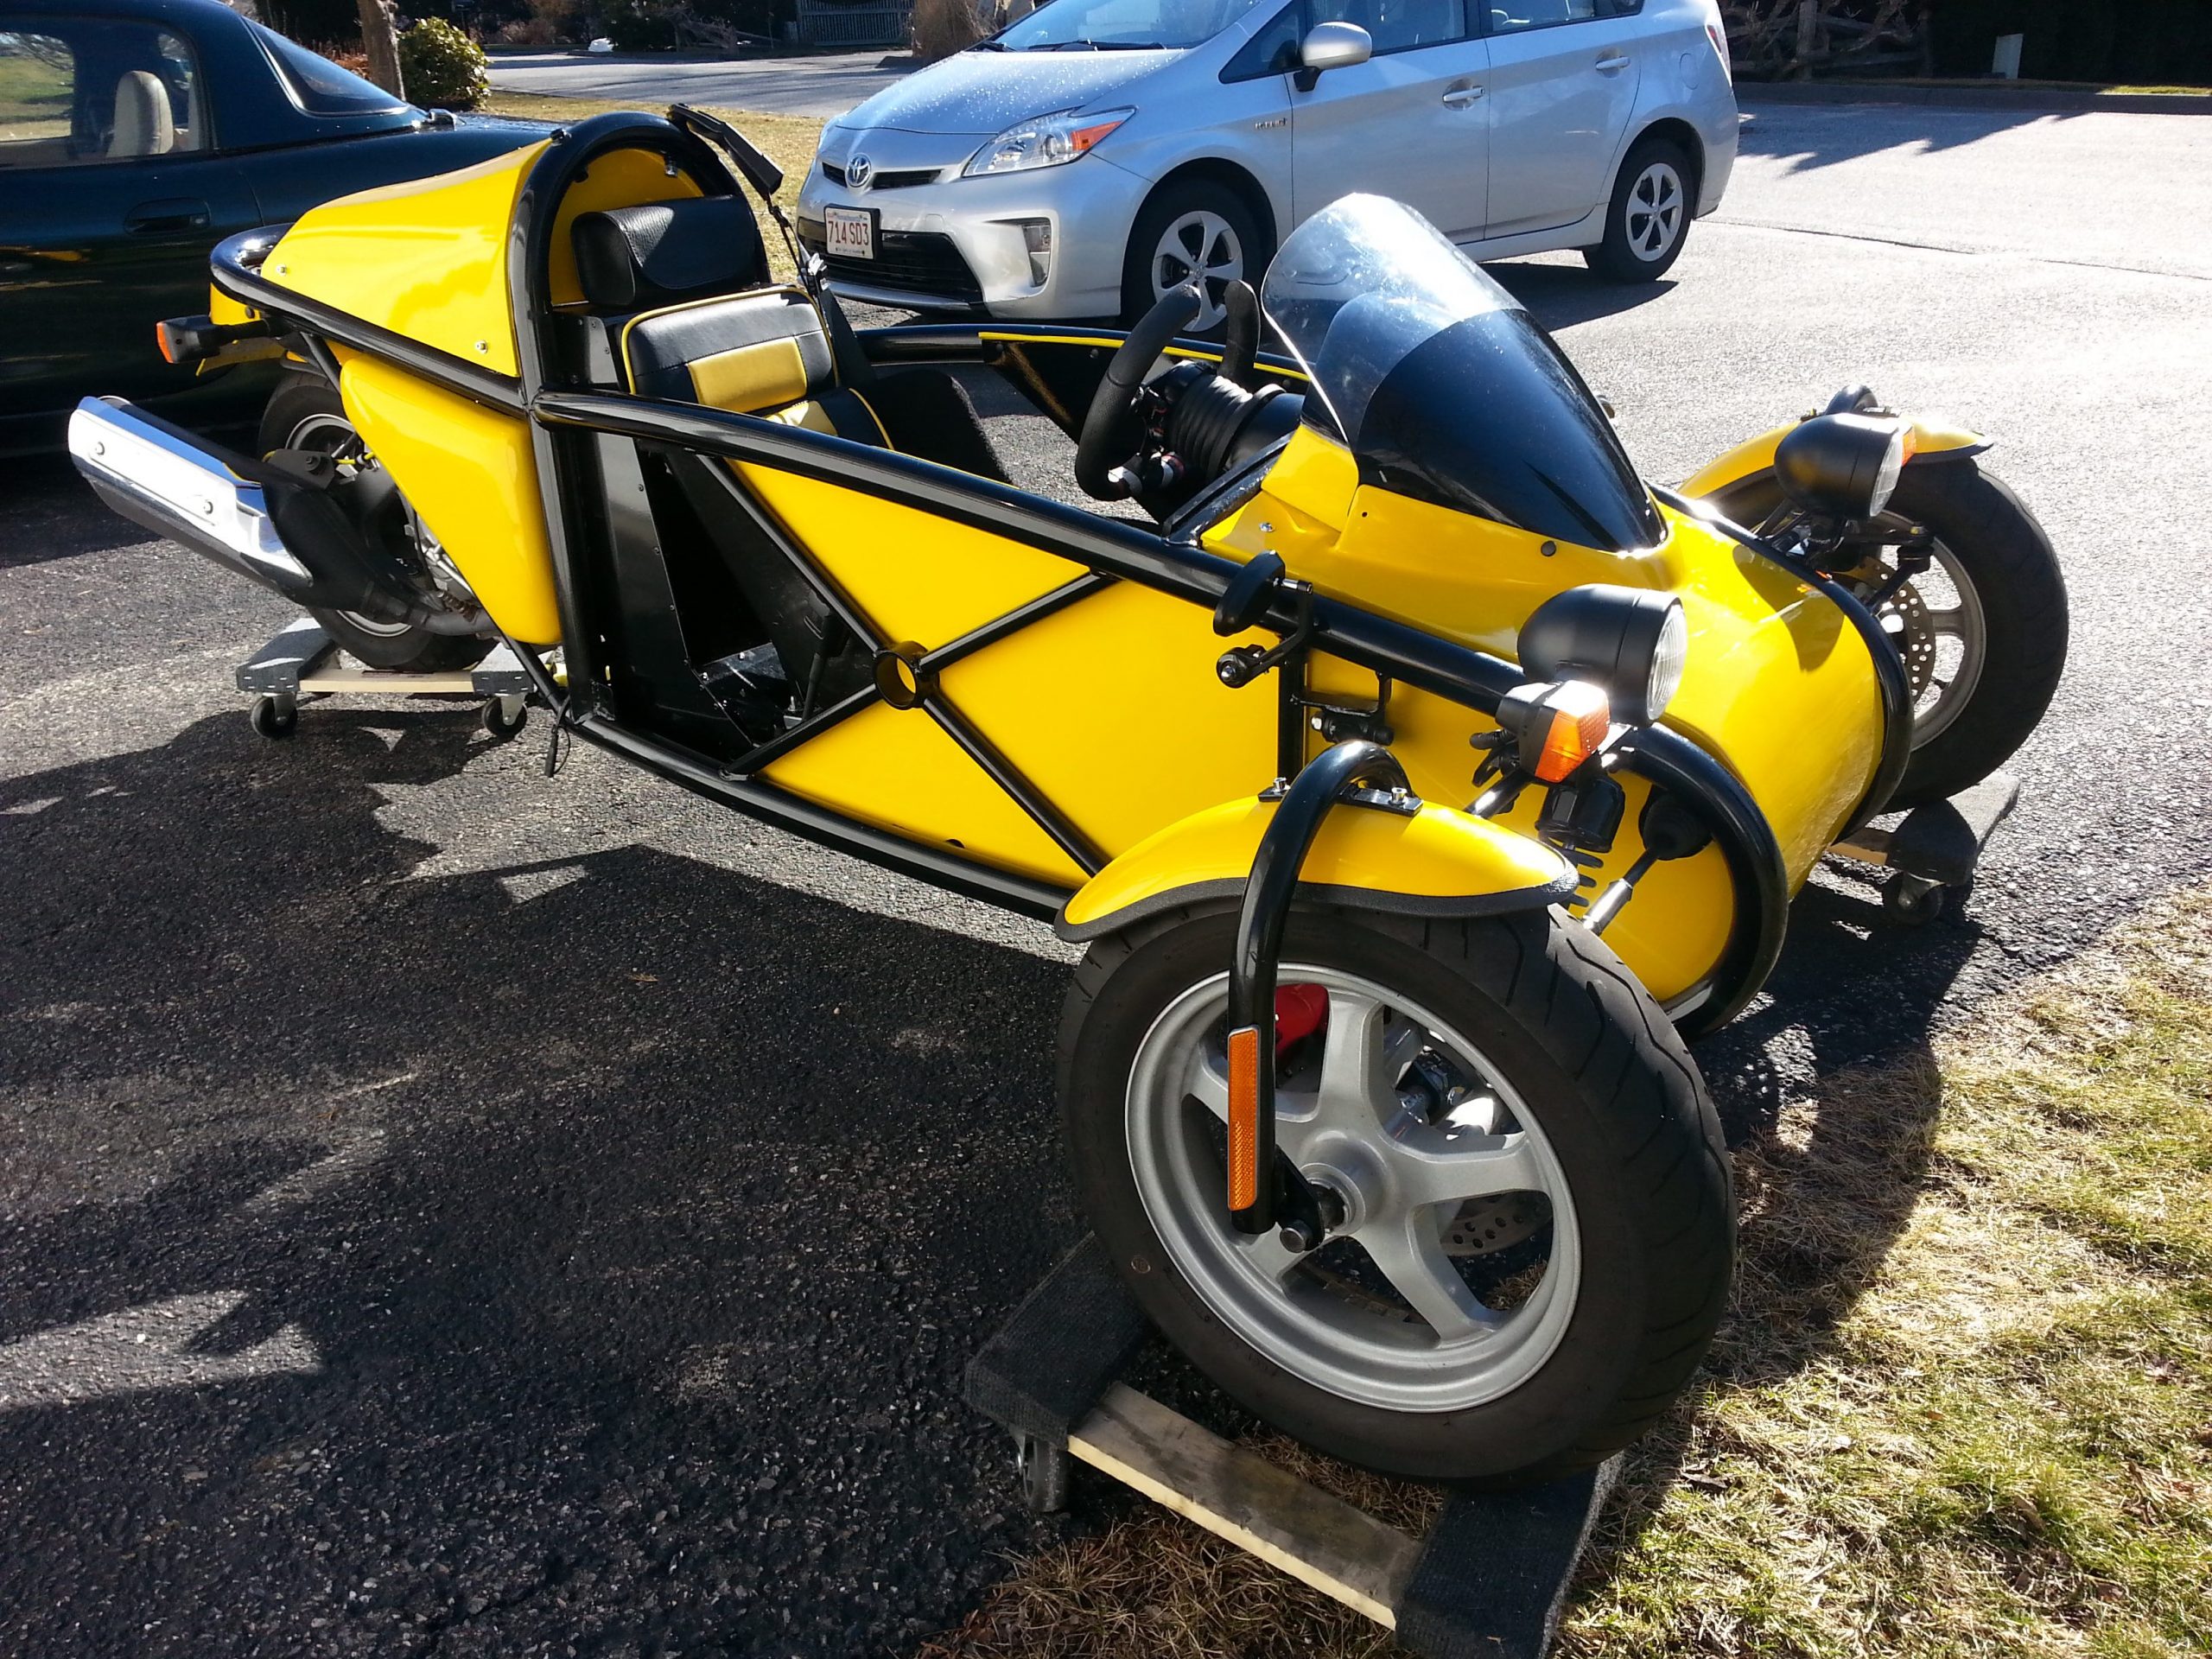
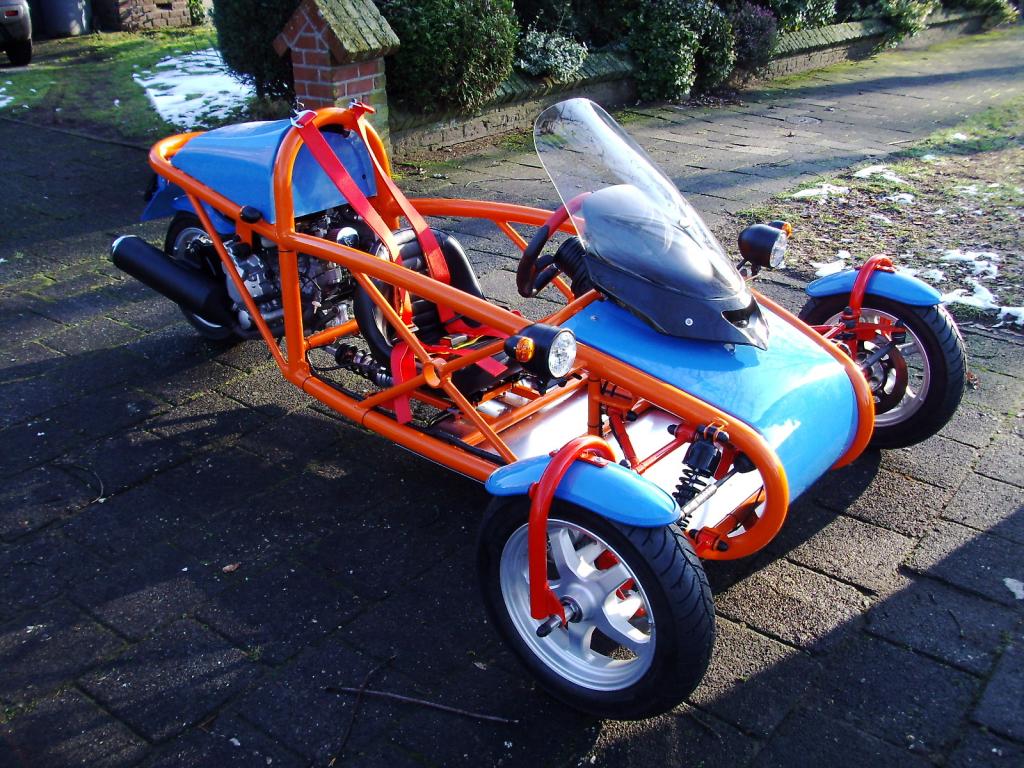
View Sample Exocet Builds
See how others have approached their Exocet builds